IDrive® Mirror
IDrive® Mirror Desktop Application
Do I need to install any storage device to backup my computer to IDrive® Mirror?No. There is no requirement to install any additional / intermediary storage device to start using IDrive® Mirror. |
How do I sign in to the IDrive® Mirror desktop application?If the desktop application is downloaded by logging in to your account via the web, the application will be automatically linked to your account. In this case, there is no need to sign in, and you can launch the application. On logging out from the desktop application, any ongoing and scheduled backups will be stopped. 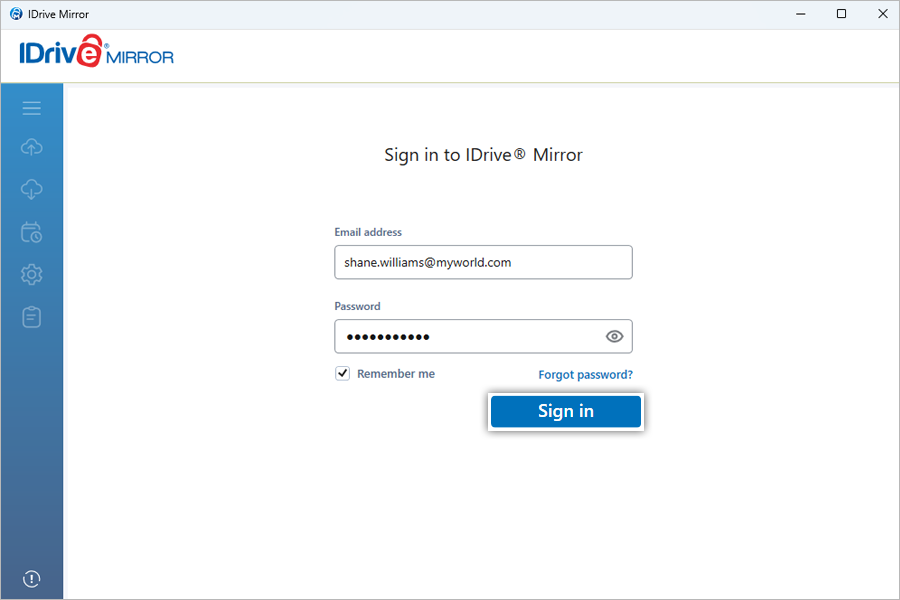 |
What are the options available in IDrive® Mirror Tray?Once you install the desktop application, an IDrive Mirror Tray icon will be created on your system tray. You can right-click the tray icon and select 'Launch IDrive Mirror' to open the desktop application. The other options available in the tray icon are:
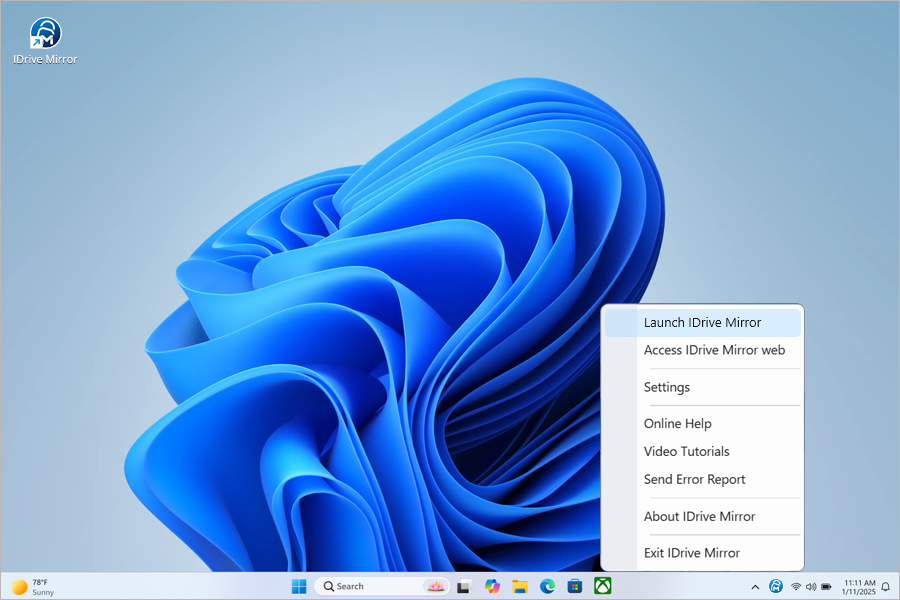 |
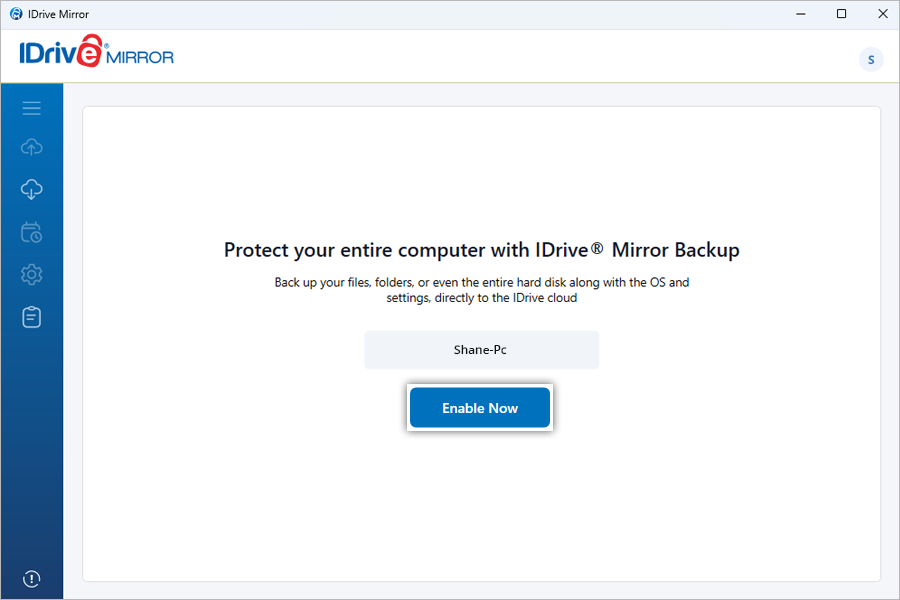
How do I enable backup via IDrive® Mirror desktop application?To enable backup via the desktop application,
Your 'Entire Computer' will be selected as the backup source by default. 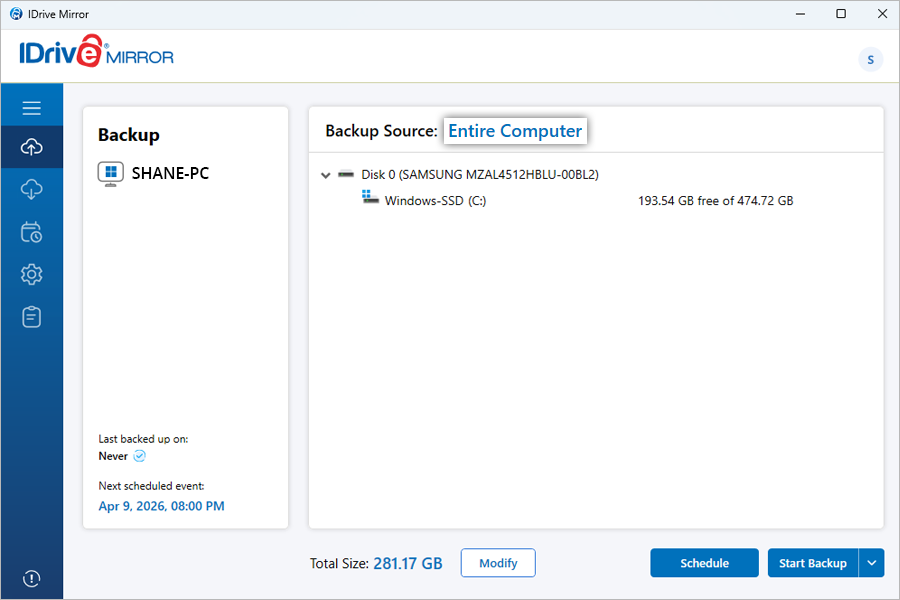 |
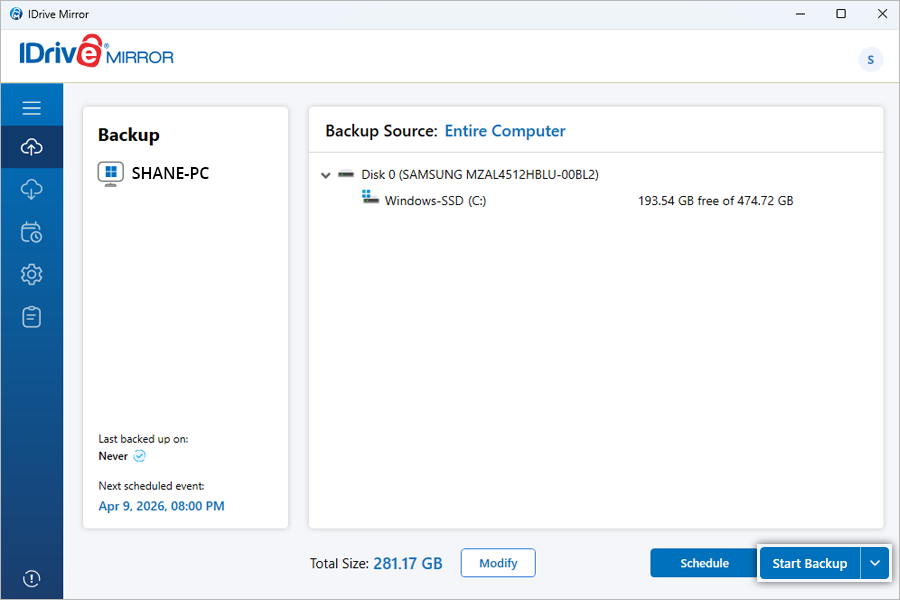
How do I backup my computers from the desktop interface?To start an immediate full disk-image backup of your computer,
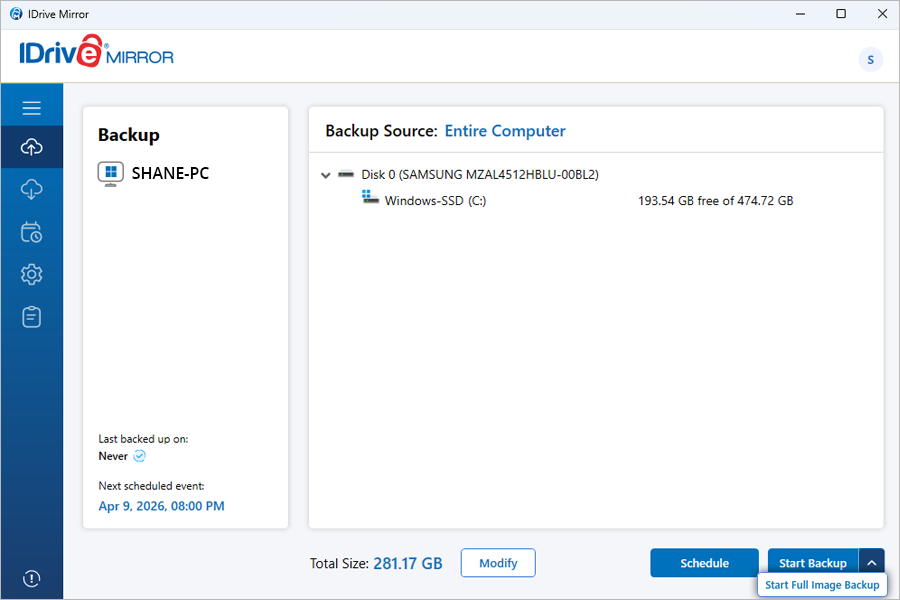
A full image backup of your computer will be performed for the first time. The subsequent backups will be incremental. To perform a full disk-image backup of your computer at any time,
The backup progress will be displayed on the screen. You can pause an ongoing backup by clicking 'Pause', or resume it by clicking 'Resume'. To stop the backup, click 'Stop'. You can also schedule backups from the 'Scheduler' tab. Choose to perform backups on a daily basis or select the desired days for backup in a week or a month. You can even set an interval between consecutive backups and fix the backup start time. |
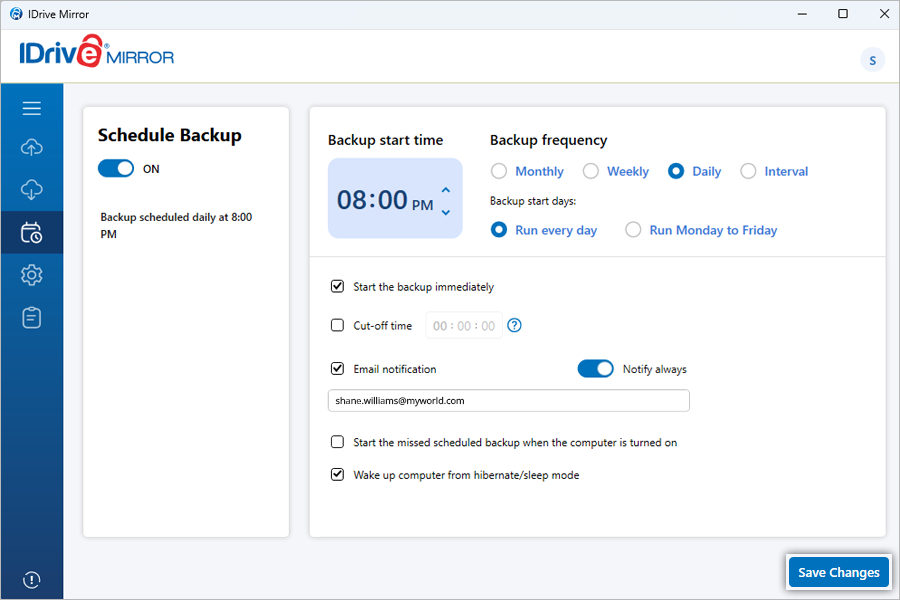
How do I schedule a backup?To schedule backup for your computer,
Backups will occur as per the saved schedule. Note: You can turn off backup scheduling anytime by disabling the toggle button under 'Schedule Backup'. Use this option if you do not want to run or modify scheduled backups. |
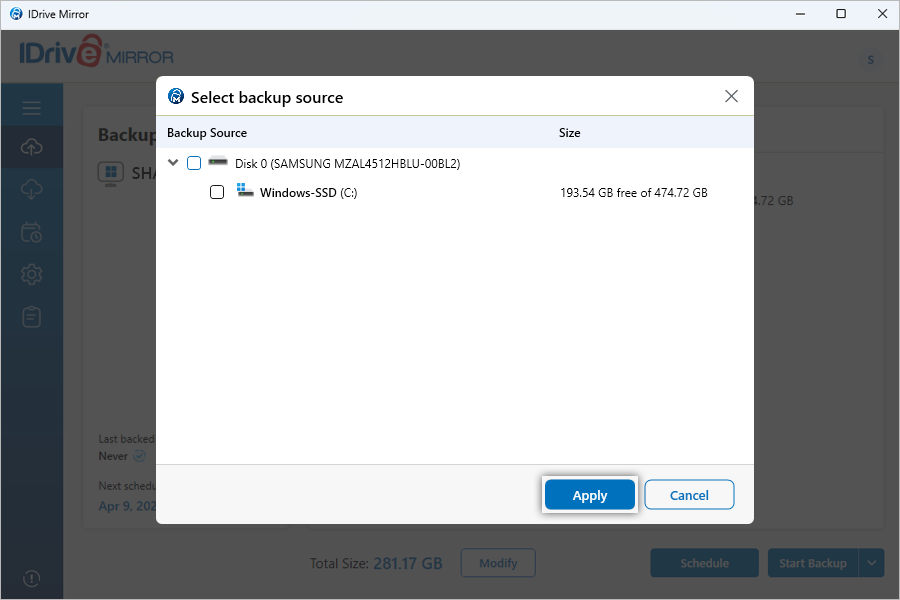
How do I backup an individual disk partition of my computer?IDrive® Mirror selects your entire computer for backup to the cloud by default. If required you can modify the backup source to back up specific drives of your computer. To backup a disk partition,
Alternatively, click 'Entire Computer' next to 'Backup Source' to customize the backup source.
|
How do I perform a full system-image recovery?In order to perform a WinRE-based complete system restore of your Windows computer and server system from the image backups stored in IDrive® Mirror account, follow these steps: The following prerequisites must be fulfilled to restore data using a WinRE recovery media:
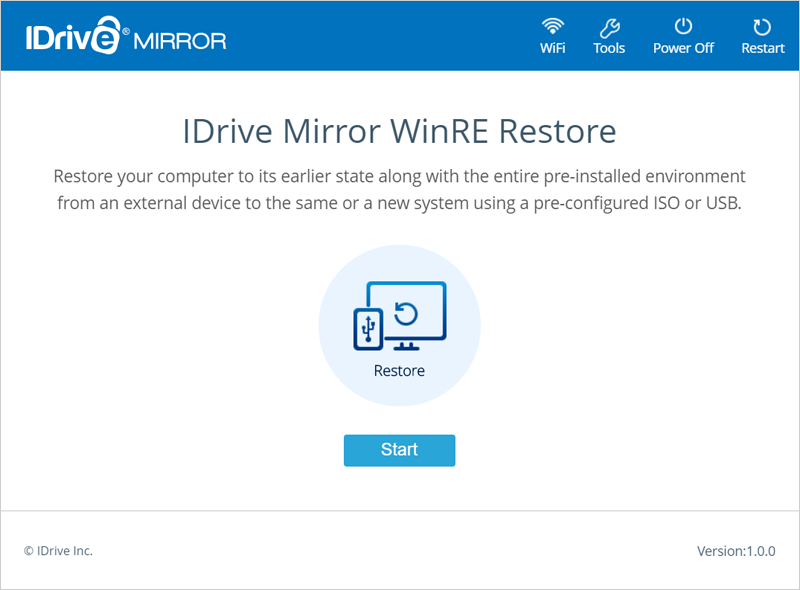
To restore data using WinRE bootable USB drive,
The restore progress will be displayed and you will receive a message once the restore is complete. To restore data using WinRE bootable ISO file, attach the ISO file to a virtual machine, and launch the IDrive® Mirror WinRE Restore setup. Then follow the remaining steps for USB data restore. |
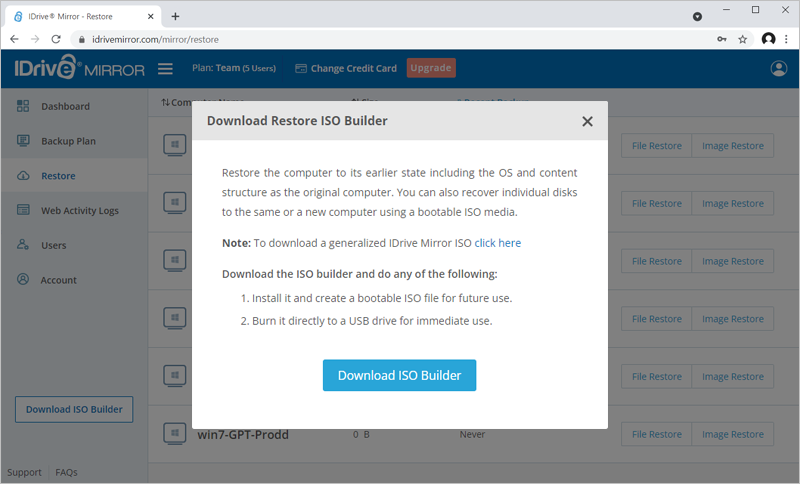
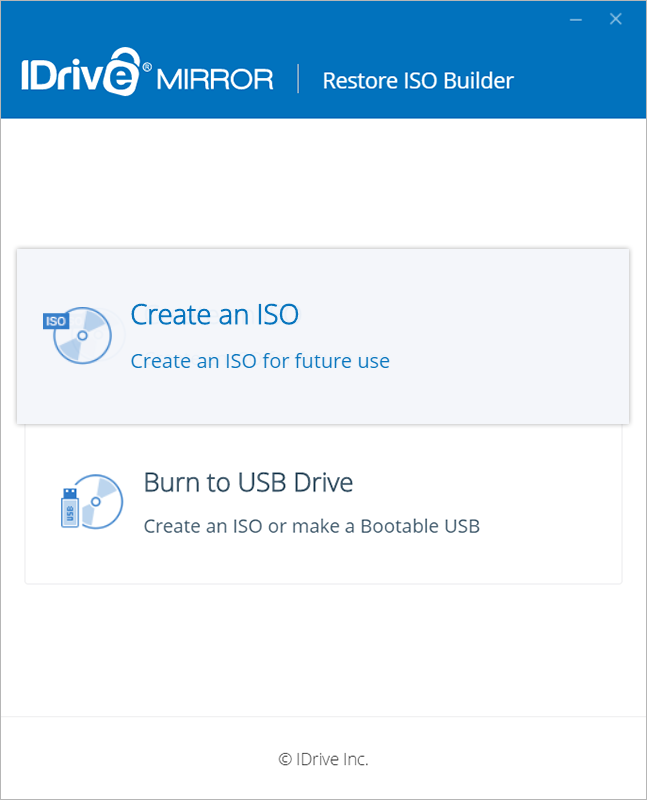
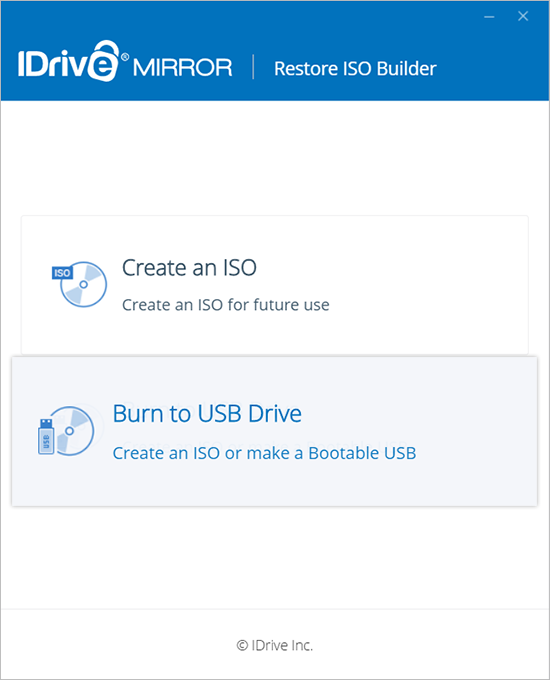
How to create a WinRE restore media for system-image restore?In order to initiate a WinRE-based system restore, you need a bootable USB or ISO. You can either download a generalized ISO for immediate use or create a USB or ISO for future use using the IDrive® Mirror Restore Media Builder app. You can use this bootable WinRE-based recovery media to boot up a Windows computer on which restore needs to be initiated. To build a WinRE recovery media for future use,
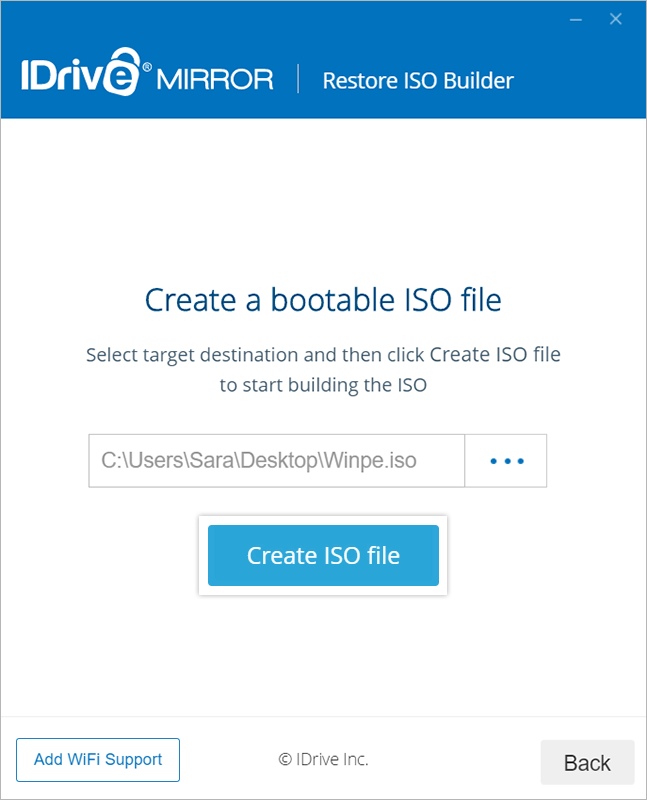
To download a ready-built bootable ISO file for immediate system restore, click 'Click here'. A generalized IDrive® Mirror ISO will be downloaded. You can upload the ISO file directly to a virtual machine and launch the IDrive® Mirror WinRE Restore setup. Alternatively, to build a bootable USB or ISO for future use, click 'Download ISO Builder' on the popup window. Once downloaded, install the IDrive® Mirror Restore Media Builder app on your computer. To build a WinRE recovery media for future use,
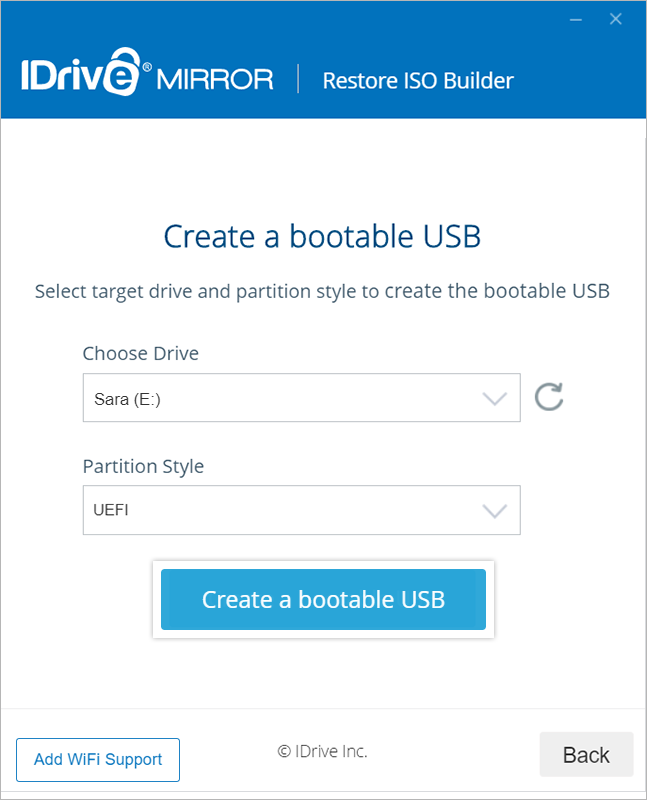
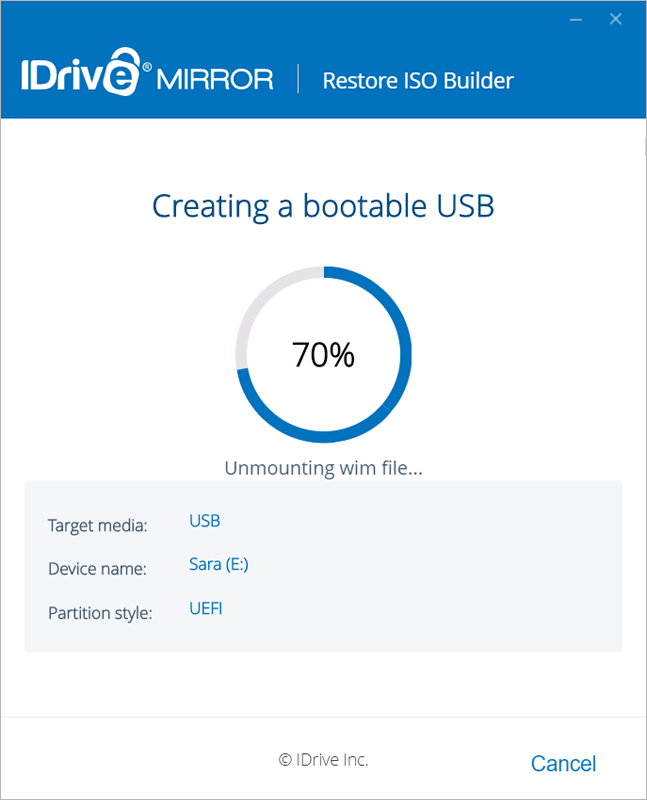
The ISO build progress will be displayed on the page. You will receive a success message once the rescue media is created. 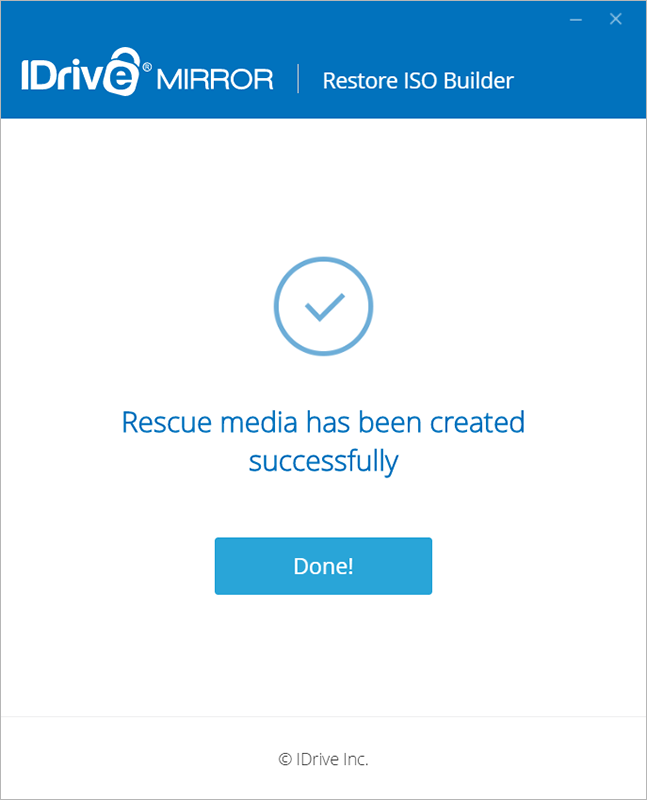 To build a WinRE recovery media for immediate use,
The bootable USB creation progress will be displayed on the screen. You will be notified once the bootable USB device is successfully created along with further instructions to use the bootable device. Note: If the setup is not able to find the .wim file, you will be prompted to download Windows ADK to complete building the ISO. |
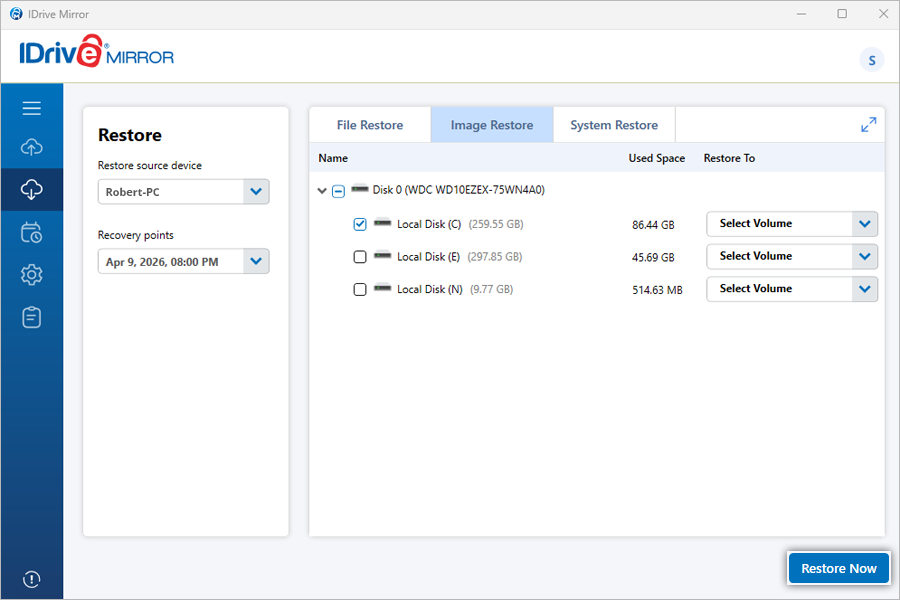
How do I restore specific disk volumes from the desktop interface?To restore specific disk volumes from your IDrive® Mirror account,
Note: Volume restore cannot be performed on the location, where the operating system is installed on the computer. |
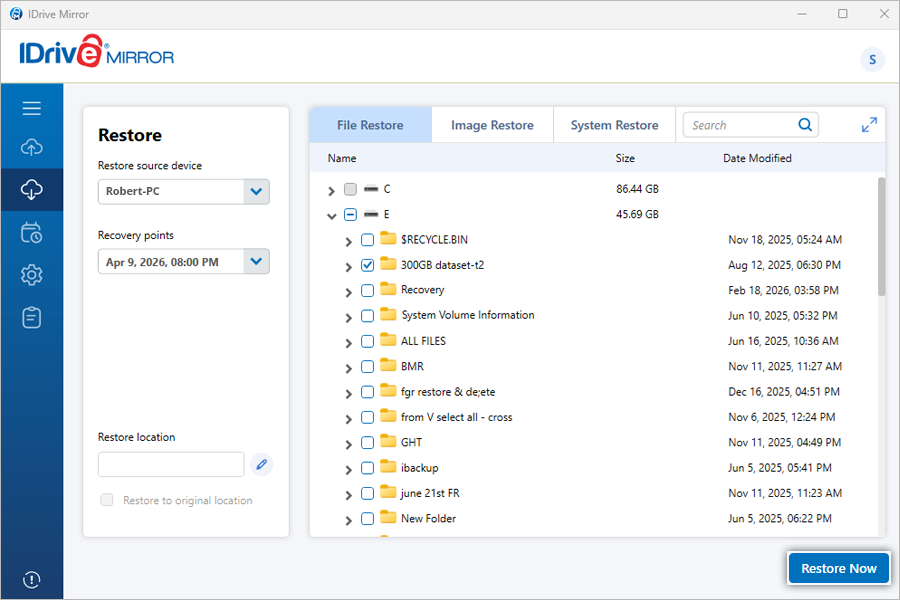
How do I restore individual files and folders?To restore an individual file or folder from your Mirror account,
|
Is it possible to restore files while a backup is in progress?Yes, you can restore files while a backup is in progress. This currently applies only to file restore, allowing you to restore files to the original location or a custom location without interrupting the backup. |
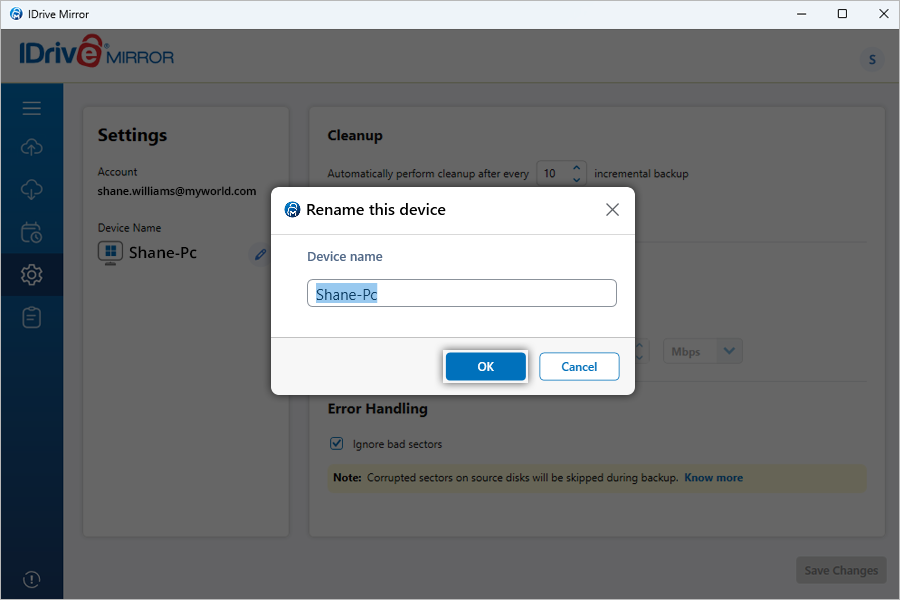
Can I rename my device in IDrive Mirror?Yes, you can rename your device configured to IDrive Mirror. To rename your device,
|
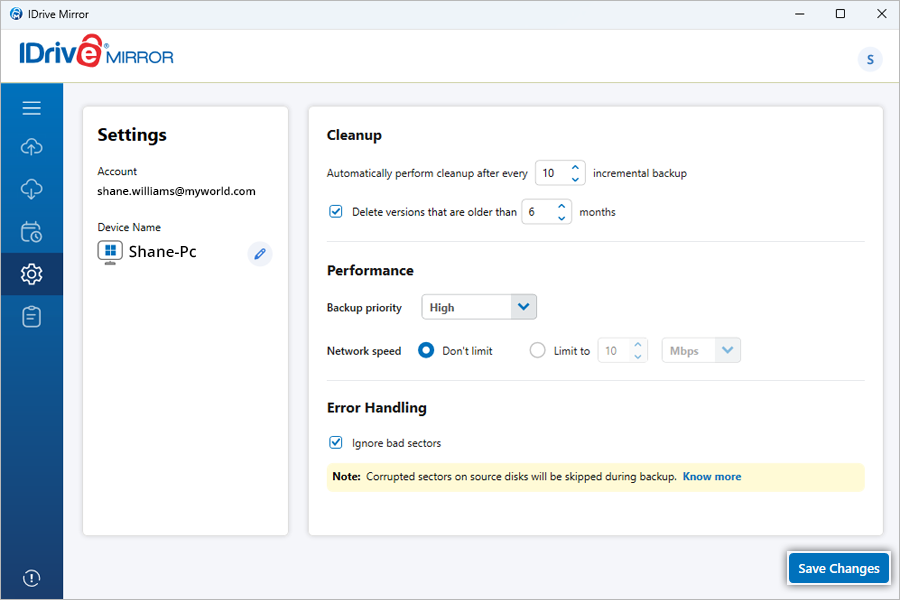
How do I perform a cleanup of the backed up data in my IDrive® Mirror account?The data stored in your IDrive® Mirror account is cleaned up periodically based on the Cleanup settings defined by you. To set cleanup settings,
|
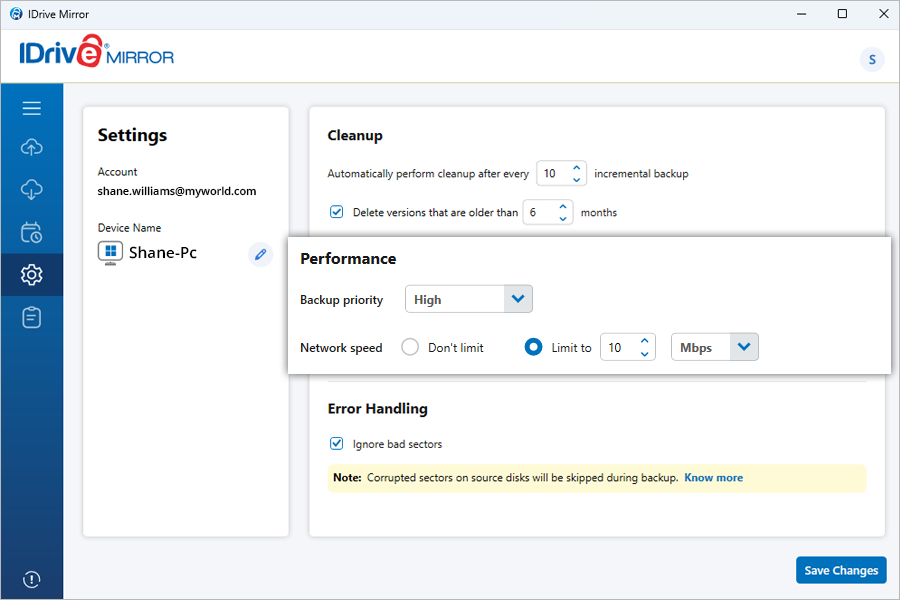
Can I modify the performance settings of IDrive® Mirror?Yes, you can define performance parameters such as backup priority and network speed for your IDrive® Mirror account. To edit the settings,
|
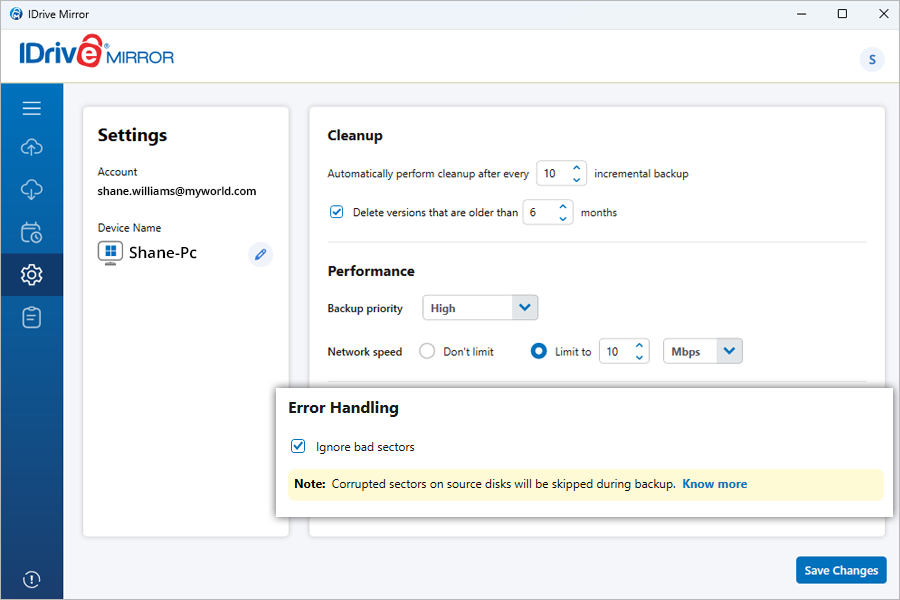
How do I configure IDrive® Mirror to ignore bad sectors during backup?By default, IDrive Mirror skips corrupted sectors on source disks during backup. Even if a disk with bad sectors is restored, those sectors will appear as empty sectors. Files that were stored in these sectors will not be readable. To modify this setting,
Note: Once this option is disabled, IDrive Mirror will not skip corrupted sectors during backup, and the backup operation may fail if bad sectors are encountered. |
How do I view activity logs on the IDrive® Mirror desktop application?To view a list of activity logs,
Note: A list of the activities in your account for the selected time range will be displayed. |


 to restore the selected files.